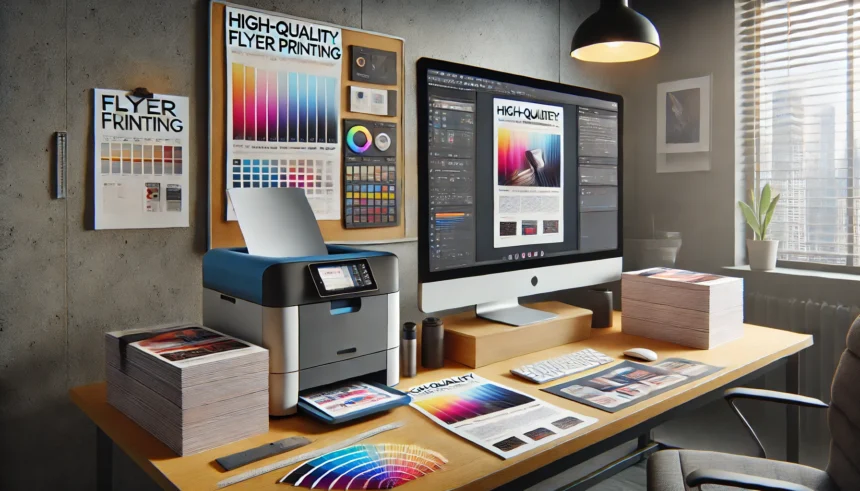
One of the basic components of any successful marketing strategy is designing attractive flyers. What good is a beautiful design if the file isn’t print-ready? Optimizing your files makes sure the end product is clean, professional, and matches your vision! Here’s a guide to getting your files print-ready, step by step.
1. Choose the Right File Format
The print quality is affected by the file type you select. Here are some of the most widely-admired standards for printing flyers:
- PDF: Best for maintaining design integrity and compatibility.
- TIFF: Ideal for preserving the quality of images.
- JPEG (High Resolution): Recommended for images with minimal text & graphics.
- If it comes down to the choice between RGB and CMYK, CMYK is not be displayed correctly, so use CMYK color mode I always save the file in CMYK, CMYK was created for printing to give more accurate colour representation.
2. Set the Correct Dimensions and Resolution
Flyer dimensions should match the final print size. Standard flyer sizes include:
- 4 x 6 inches
- 5 x 7 inches
- 5 x 11 inches
The resolution also must be at least 300 DPI (dots per inch) for sharpness. If the resolution is lower, it will lead to a pixelated print or a blurry print.
3. Use Bleed and Margins
Bleed is the space outside the edge of your flyer that guarantees no white edges after trimming.You can easily print flyers with Adobe Express by designing custom templates and downloading them for professional printing. The flyer should also have 0.125 inches area for the bleed. Additionally, maintain a safe margin inside the design to keep essential text and graphics away from the trim line.
4. Embed Fonts and Images
If your flyer is using special fonts also make sure they are embedded in the file or converted to outlines. Flyers printing is a great way to show your business, event, or service to the world. This prevents font substitution issues during printing. Similarly, link or embed all images to avoid missing elements.
5. Optimize Color Settings
Ensure your design uses CMYK color mode rather than RGB. RGB is meant for screens, while CMYK is optimized for printing. Double-check your colors in a soft proofing tool to ensure they’ll print as expected.
6. Flatten Layers
For complex designs with multiple layers, flatten them before saving the file. Flattening reduces the risk of errors during printing and ensures that all design elements are properly aligned.
7. Double-Check Spelling and Alignment
Before finalizing your file, review all text for typos, ensure proper alignment, and verify that all design elements are correctly placed. Printing mistakes can be costly, so take the time to review thoroughly.
8. Compress the File Without Sacrificing Quality
Uploading or emailing large files can be tedious. If you need to compress your files for preparing them for the web, use file compression tools such as Adobe Acrobat’s PDF optimizer (or other program) to reduce the size while maintaining print quality.
9. Conduct a Print Test
If it’s feasible, print out a sample at home or with a printer close by to see how the design translates to paper. Presenting this can help catch potential problems, before they get to a professional printer.
10. Work with Your Printer’s Guidelines
Different printing services may have specific file requirements. Always consult your printer’s guidelines for bleed, color mode, resolution, and file format to ensure compatibility.
Final Thoughts
Optimizing your files for your flyers the right way will save you time, money, and frustration while also ensuring you produce a great final product. Taking these steps will set you up to deliver high-quality, print-ready designs that impress.


